Why I Started Making Bread at Home
This bread machine whole wheat bread recipe started during a season when I was trying to simplify what we were eating at home.
There was a point where I started looking at our food a little differently.
Not strictly or overwhelmingly — just with more awareness.
I began paying attention to the ingredient lists on the foods we were eating every day, especially the ones my kids were having the most, like bread. And the more I looked, the more I realized how much was added that I didn’t fully understand.
That’s really where the shift started for me.
It wasn’t about being perfect or cutting everything out overnight. It was about wanting to give my kids more whole, simple foods when I could — especially for Henry.
I had already been working so hard to support him in other areas of his life, and I started to feel like food was another place where I could make small, meaningful changes.
Less added sugar.
Fewer preservatives.
More ingredients I actually recognized.
Nothing extreme — just more intentional.
And bread was one of the first things that stood out to me.
It’s something we eat almost every day, and yet it’s also something that can be made so simply at home with just a few basic ingredients.
That realization changed everything.
Because suddenly, this didn’t feel like adding more to my plate.
It felt like taking something back.
And once I realized how simple it could be, I knew I needed a way to make it fit into our real, everyday life.
Is Store-Bought Bread Really That Bad? (A Gentle Look at Ingredients)
When I started paying closer attention to ingredients, bread was one of the first things that made me pause.
Not because it’s “bad.”
But because it’s something we eat so often.
And when I looked at the label, I realized it wasn’t just flour, water, and yeast as I had always assumed.
There were preservatives to extend shelf life.
Added sugars to improve taste and texture.
Dough conditioners to keep everything soft and uniform.
And while all of those ingredients are considered safe, it made me start thinking a little differently.
Not in a fearful way — just in a more aware way.
Because when something is part of your everyday routine, even small things can add up over time.
And for me, that’s what this shift was really about.
Not cutting everything out.
Not doing it perfectly.
Just being a little more intentional with the foods we rely on the most.
Bread is something my kids eat almost daily.
So instead of overcomplicating everything, I asked myself a simple question:
Is there an easier way to make this at home using ingredients I already have?
And once I realized the answer was yes — and that it didn’t have to take extra time or effort — it completely changed how I looked at it.
Because sometimes it’s not about avoiding something.
It’s about realizing you have another option.
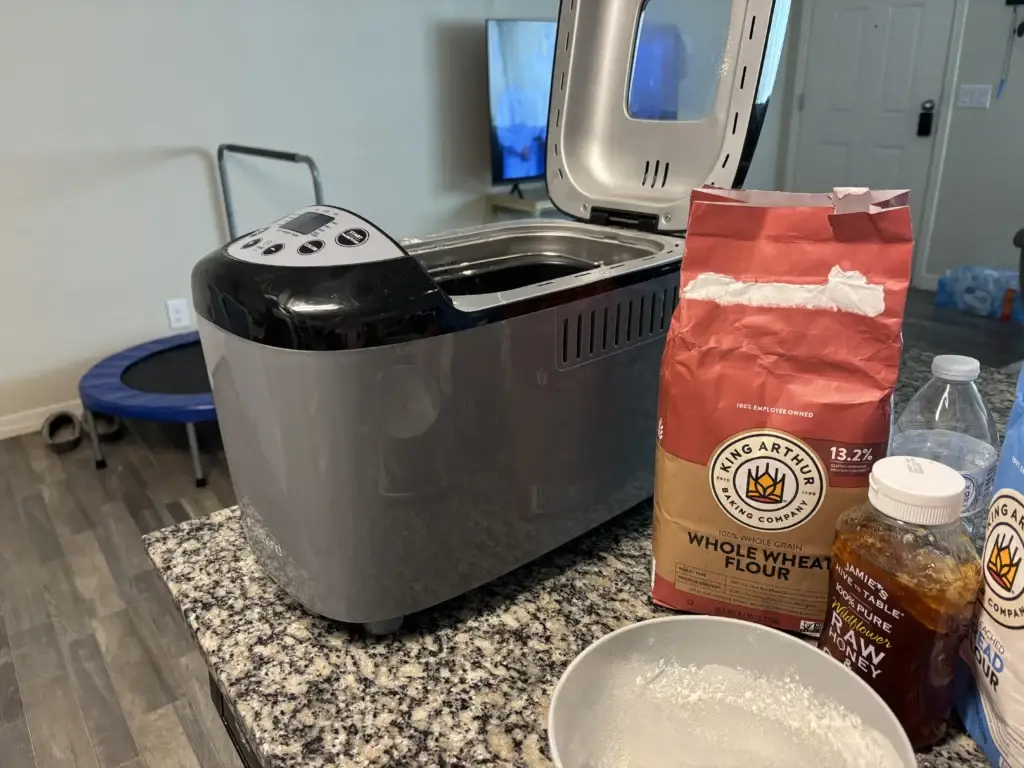
This bread machine’s whole wheat bread has become a staple in our home because it’s simple and consistent.
Why a Bread Machine Changed Everything
For a long time, I thought making bread at home just wasn’t realistic for this season of life.
It felt like one more thing that would require time, attention, and energy I didn’t have.
Kneading the dough.
Letting it rise.
Watching the clock.
It all felt like too much.
And when you’re already carrying the mental load of motherhood, even small extra steps can feel overwhelming.
That’s why I didn’t need a more complicated system.
I needed something that would take the pressure off.
That’s where the bread machine came in.
It removed all the parts that made bread feel hard.
No kneading.
No babysitting the dough.
No second-guessing if I was doing it right.
Just add the ingredients, press start, and let it do the work.
And that’s what made it stick.
Because it wasn’t about adding something new to my routine — it was about simplifying something we were already doing.
Bread went from being something I bought out of convenience…
to something I could make at home without thinking twice about it.
And that’s when I realized:
It’s not about doing everything from scratch.
It’s about finding small systems that support your life in a real, sustainable way.
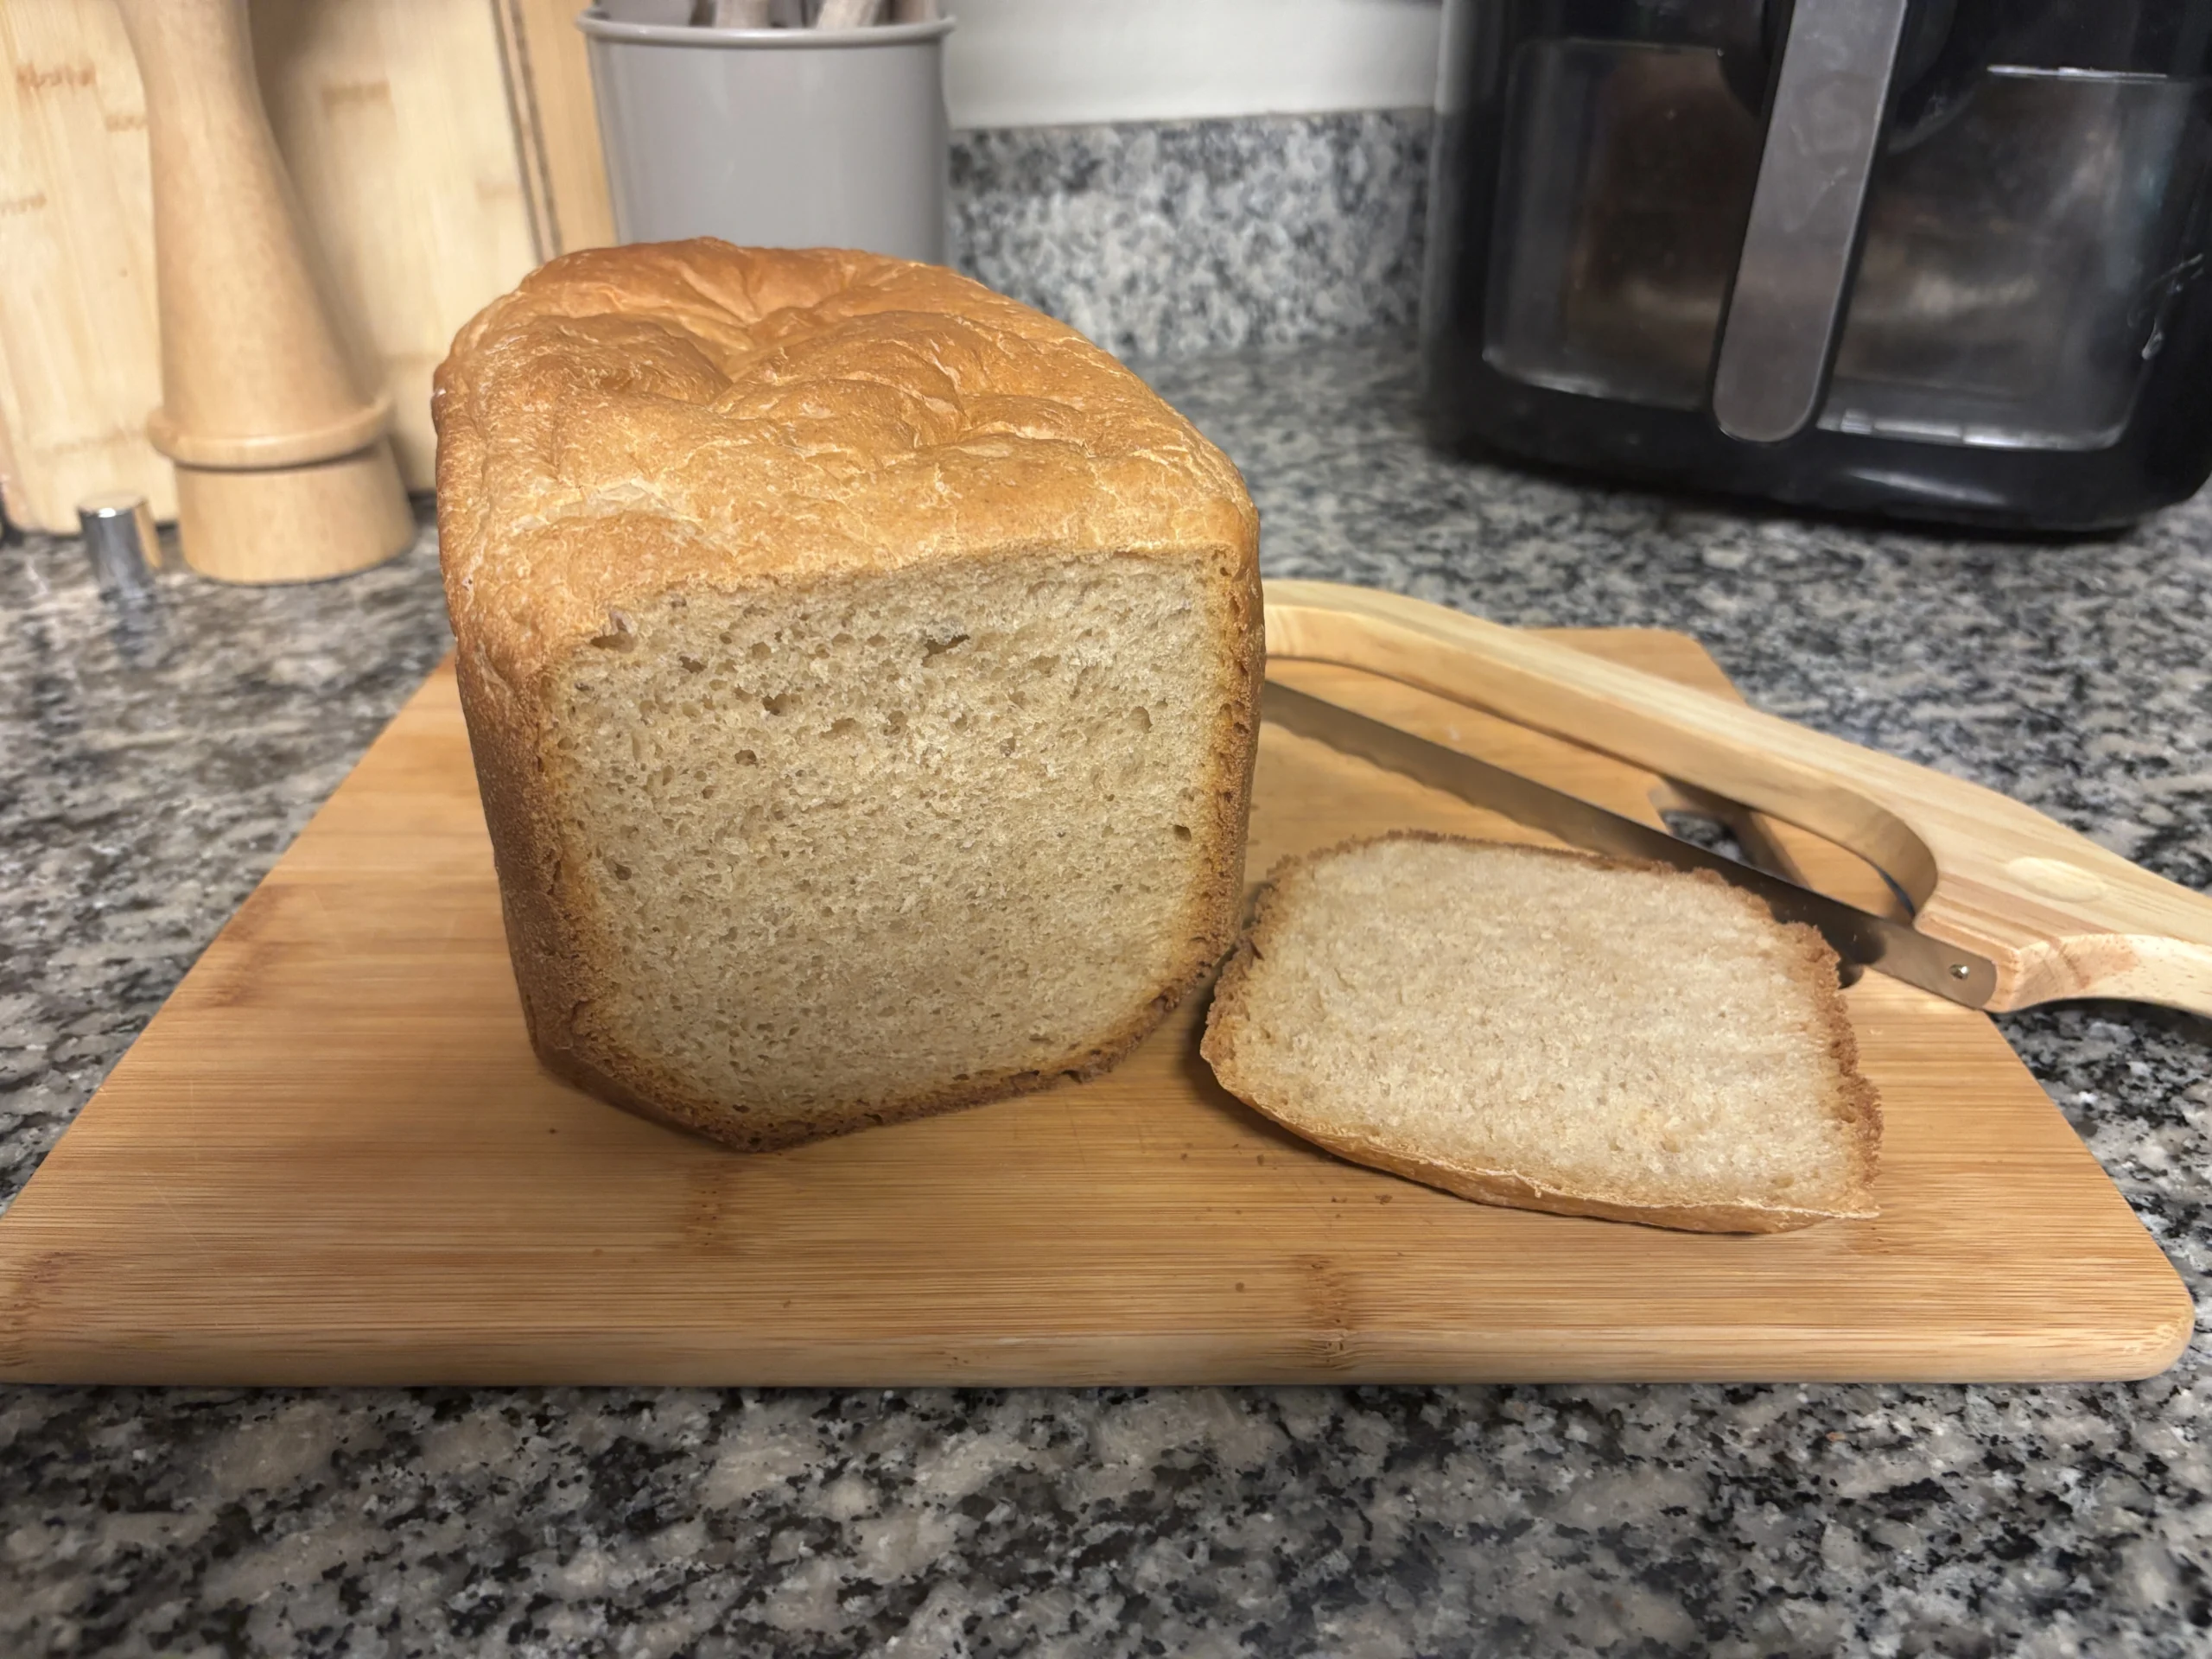
What I love most about this bread machine’s whole wheat bread is how little effort it actually takes to keep it consistent.

Soft Whole Wheat Bread (Bread Machine Recipe)
Ingredients
Equipment
Method
- Add all ingredients to your bread machine pan in the order listed above. (Liquids first, dry ingredients next, yeast last.)
- Select: Basic or Whole Wheat cycle, 2 lb loaf, Light or Medium crust
- Press start and let the machine do the work.
- Optional: After 5–10 minutes, check the dough: Soft and slightly tacky = perfect, Too dry → add water 1 tbsp at a time, Too wet → add flour 1 tbsp at a time
- Once baked, remove from the pan and let cool completely before slicing.
Notes
Check the Dough Early
After the first 5–10 minutes of mixing, take a quick look at the dough. It should be soft, smooth, and slightly tacky — not dry and not overly sticky. If it looks too dry, add a little water (about 1 tablespoon at a time).If it’s too wet, add a small amount of flour. This one small step can completely change the outcome of your bread.
Don’t Overpack Your Flour
One of the most common reasons bread turns out dense is using too much flour. If you’re measuring in cups, lightly spoon the flour into your measuring cup and level it off instead of scooping directly from the bag. Even better — if you can, use grams. It keeps everything consistent and takes the guesswork out.Let It Cool Before Slicing
This is the hardest part, but it matters. Cutting into the bread too soon can make it gummy and affect the texture. Let it cool completely so it can set properly — you’ll get a much softer, more even slice.Whole Wheat Needs a Little Extra Care
Whole wheat flour behaves a little differently from white flour.
It absorbs more liquid and can make the dough feel drier at first.
If your dough seems a little stiff, don’t be afraid to add a small amount of water.
A good balance between whole wheat and bread flour also helps keep the texture soft instead of too dense.
Why These Small Things Matter
None of this is complicated — but these small adjustments are what make homemade bread feel easy instead of frustrating.
Once you understand how the dough should look and feel, the process becomes second nature.
And that’s when it really starts to fit into your rhythm.
This bread machine whole wheat bread is one of the easiest ways I’ve found to make homemade bread part of our routine.
How This Simple Recipe Supports a Calm Home
One of the biggest shifts for me wasn’t just what I was making — it was how it started to support our day-to-day life.
Before, bread was just another thing to grab from the store.
Now, it’s something I can make once and use throughout the week.
And that small change has taken more off my plate than I expected.
It’s one less decision to make.
Lunches feel easier.
Breakfast is already figured out.
I don’t have to think about what we’re going to pair with meals.
It’s just there.
Ready.
Simple.
And when you’re managing a home, those small decisions add up quickly.
So anything that removes even a little bit of that mental load makes a difference.
This recipe also fits naturally into a weekly rhythm.
I can start a loaf in the morning while we’re getting ready for the day, and by the time things settle, it’s done.
No extra time carved out.
No added pressure.
Just something working quietly in the background.
And that’s really what I’ve learned matters most.
Not doing more.
But finding small systems that support your life in a way that feels sustainable.
Because simple routines like this don’t just feed your family —
They create space for you to be more present in your home.
Easy Ways to Use This Bread
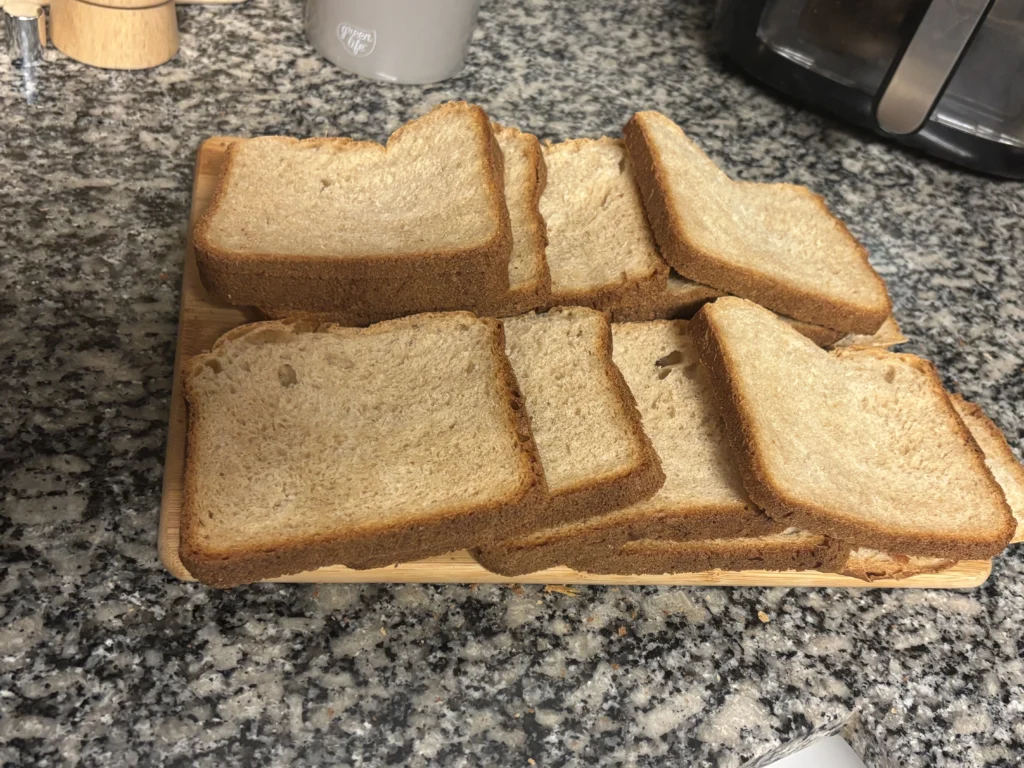
Once you start making this bread, it quickly becomes something you reach for throughout the day.
Because it’s simple and versatile, it works for meals, snacks, and everything in between.
Here are a few easy ways we use it in our home:
Sandwiches
This is our go-to.
Simple lunch sandwiches, toast with peanut butter, or even something as basic as butter and honey — it all works.
Because the bread is soft and mild, it’s easy for kids to enjoy too.
Toast in the Morning
A quick slice of toast can make mornings feel a little more put-together.
Add butter, jam, avocado, or eggs — whatever works for your day.
It’s one of the easiest ways to turn a simple breakfast into something filling.
Quick Breakfasts
When mornings feel rushed, having this bread ready makes a big difference.
You can:
- Toast it and add nut butter
- Make a quick egg sandwich
- Pair it with fruit or yogurt
No extra thinking — just something easy you already have on hand.
Easy Kid Meals
This has been one of the biggest wins for us.
It’s an easy base for:
- Simple sandwiches
- Grilled cheese
- Toast with toppings
And because it’s homemade with simple ingredients, it feels like a small upgrade without extra effort.
Why This Matters
Having something like this ready to go takes the pressure off.
It turns “what should we eat?” into something simple.
And those small moments of ease are what start to make the whole day feel lighter.
FAQ
Q. Can I use only whole wheat flour?
A. Yes, but the bread will be denser. Whole wheat flour absorbs more liquid and doesn’t rise as much as bread flour. That’s why this recipe uses a mix — it helps keep the texture soft. If you use all whole wheat, you may need to add a little extra water.
Q. Why is my bread dense?
A. This usually comes down to too much flour or not enough water. Whole wheat flour absorbs more moisture, so the dough can dry out quickly. Checking the dough in the first 5–10 minutes and adjusting slightly can make a big difference.
Q. Can I use instant yeast instead of active dry yeast?
A. Yes. You can use the same amount of instant yeast and add it directly to the dry ingredients. Your bread machine will handle the rest.
Q. Can I freeze this bread?
A. Yes, and it freezes really well. Let the bread cool completely, slice it, and store it in a sealed bag. This makes it easy to grab a slice whenever you need it.
Q. Can I make this recipe dairy-free?
A. Yes. Simply use olive oil instead of butter, and the recipe will work the same.
Q. Why does my bread sometimes come out dry?
A. This usually means the dough needed a little more water. Whole wheat flour can vary, so adding water one tablespoon at a time during mixing helps get the texture just right.
Q. Can I add seeds or oats to this recipe?
A.Yes. You can add flax seeds, chia seeds, oats, or sunflower seeds for extra texture. Add them with the flour or during the mix-in cycle.
Tools I Use (And Why They Make This Easier)
These are a few things I personally use that make baking bread at home feel simple and manageable. None of them are required, but they’ve made a big difference in keeping this process quick and low-stress.
Bread Machine
I use a West Bend bread machine, and it’s what makes this recipe realistic for me.
It takes care of the mixing, kneading, rising, and baking — all in one place.
I can add everything in, press start, and move on with my day without having to think about it again.
Food Scale
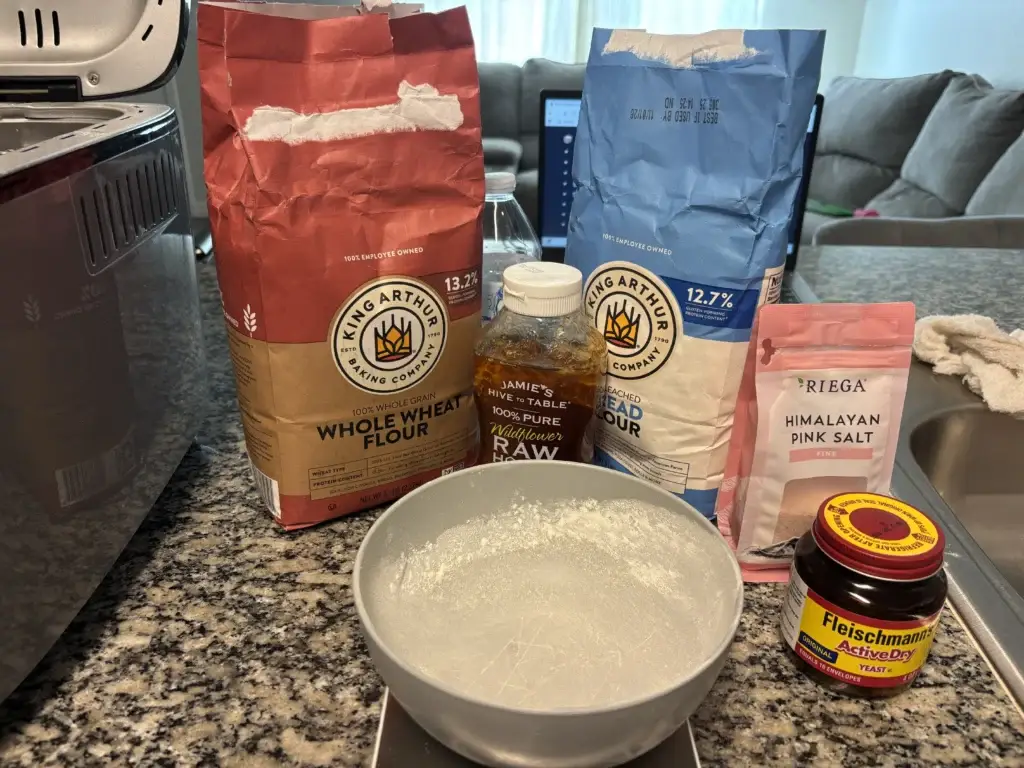
I prefer using a food scale and measuring in grams instead of cups.
It’s faster, more accurate, and creates less mess.
I can place one bowl on the scale and add each ingredient directly into it without pulling out multiple measuring cups. It simplifies both prep and cleanup.
Beeswax Bread Bag
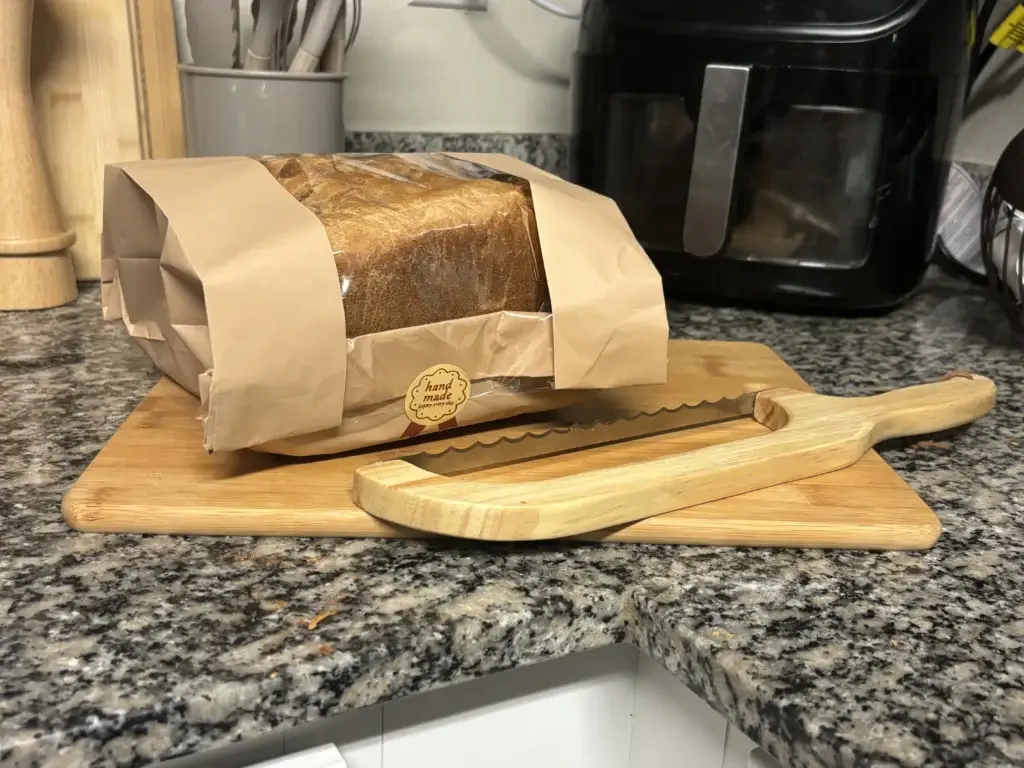
For storage, I like using a beeswax-lined bag when I’m not freezing the bread.
It helps keep the bread fresh longer while still allowing it to breathe, so it doesn’t get soggy like it can in plastic.
Bread Knife
A good bread knife makes a big difference when slicing.
It helps you get clean, even slices without squishing the loaf — especially once the bread has fully cooled.
Affiliate Disclosure – Some of the links above may be affiliate links, which means I may earn a small commission if you choose to purchase through them — at no additional cost to you. I only share products that I personally use, and that genuinely make our day-to-day life easier.
A Gentle Reminder for Moms
If you’re in a season where everything feels a little heavy, you’re not doing anything wrong.
Motherhood comes with a lot to carry. The meals, the routines, the constant decisions — it adds up quickly.
And it’s easy to feel like you should be doing more.
Making everything from scratch.
Keeping up with it all.
Getting it “right.”
But that’s not what this is about.
This isn’t about doing everything perfectly.
It’s about finding small ways to support your home in a way that feels realistic for you.
Sometimes that looks like making a loaf of bread at home.
Sometimes it looks like buying it from the store and moving on with your day.
Both can exist.
What matters is that you’re making choices with intention, not pressure.
Because the small shifts — the ones that actually fit into your life — are the ones that last.
And over time, those small, simple changes are what begin to make things feel lighter.
Not because you’re doing more.
But because you’re doing what works for you.
If this post resonated with you, I think you’ll really love my post, I Was Drowning in the Mental Load of Motherhood — Until I Simplified These Things, where I share the small shifts that helped bring more calm into our home.